
 United States
Is your PC heating up more than usual? Are your games lagging, or is your system shutting down unexpectedly?
Overheating can slow down your computer and even damage its parts. One of the easiest ways to fix this is by learning how to replace thermal paste, a special material that helps keep your CPU and GPU cool.
In this blog, we’ll explain what thermal paste is, its signs for replacement, and the steps to applying new thermal paste. By the end, you’ll know exactly how to keep your PC running smoothly and extend its life.
Let’s dive in!
What Is Thermal Paste, and Why Does It Matter?
Thermal paste (thermal compound) is a sticky, heat-conductive material that sits between your CPU/GPU and its cooler. Its job is simple: transfer heat away from your processor so the cooler can blow it out.
Without thermal paste, tiny air gaps between the chip and cooler trap heat, making your PC run hotter. Over time, old paste dries out, cracks, or loses effectiveness, leading to higher temperatures and worse performance.
Replacing it can reduce PC temperatures, prevent crashes, and even enhance gaming rig performance.
Signs It’s Time to Replace Thermal Paste
How do you know if your thermal paste needs replacing?
Look for these warning signs:
-
High temperatures: Check with software like HWMonitor (idle temps should be 30-50°C; gaming temps under 80°C).
-
Loud fan noise: Heat isn't escaping properly if your cooler is always running at full speed.
-
Throttling or Shutdowns: Does your PC slow down or turn off during heavy tasks? Overheating could be the cause.
-
Old paste: If it’s been 1-2 years (or never replaced), it’s time to refresh.
Tools You’ll Need
Before starting, gather these supplies:
-
Thermal paste: (Popular brands: Arctic MX-4, Noctua NT-H1)
-
Isopropyl alcohol (90%+): For cleaning old paste.
-
Microfiber cloth or coffee filter: Gentle, lint-free cleaning.
-
Plastic spudger or soft scraper: Helps remove dried paste.
-
Screwdriver (usually Phillips-head): To remove the cooler.
-
Optional: Compressed air (for dusting), gloves (to keep fingers clean)
Step-by-Step: How to Replace Thermal Paste
Follow these simple steps to replace your thermal paste safely:
Power Down and Unplug
-
Shut down your PC and unplug it from the wall.
-
Press the power button a few times to discharge leftover electricity.
-
Touch a metal part of the case to avoid static damage.
Remove the Cooler
-
Unscrew the CPU/GPU cooler carefully (check your manual if unsure).
-
Gently twist the cooler to loosen it. (Old paste can stick.)
-
Set the cooler aside and keep the screws safe.
Clean Off Old Thermal Paste
-
Dampen a cloth with alcohol and wipe the old paste off the CPU and cooler.
-
Use a plastic scraper for stubborn bits.
-
Make sure both surfaces are spotless before moving on.
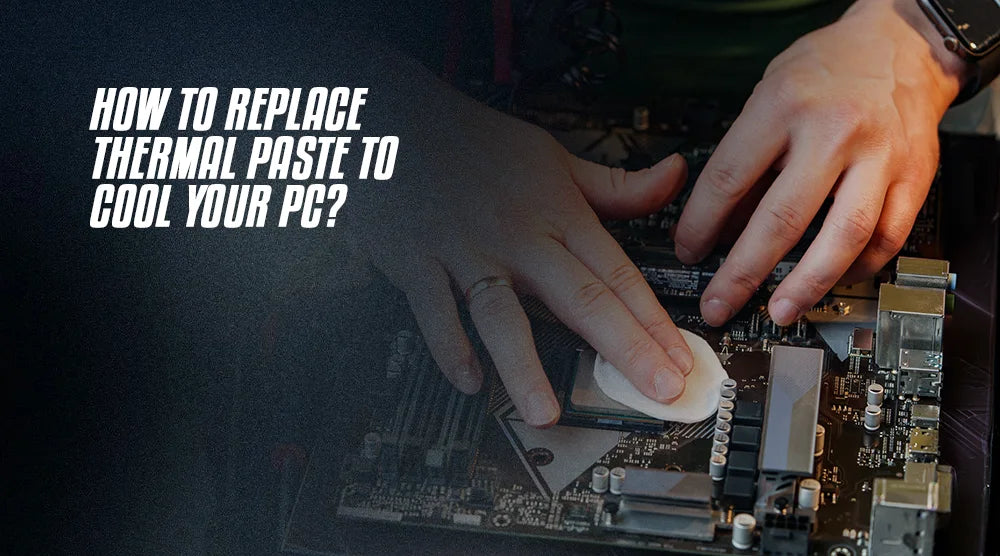
Apply New Thermal Paste
-
Squeeze a pea-sized drop (about the size of a grain of rice) onto the center of the CPU.
-
Don’t spread it! The cooler’s pressure will do that for you.
-
Too much paste can cause leaks; too little won’t cover adequately.
Reattach the Cooler
-
Carefully place the cooler back on the CPU.
-
Screw it down evenly (tighten in a crisscross pattern to avoid uneven pressure).
-
Plug the fan back into the motherboard.
Power On and Check Temps
-
Reconnect your PC and turn it on.
-
Use HWMonitor or CoreTemp to check temperatures.
-
You should see a 5-20°C drop in temps if done right!
Tips for Best Results
-
Don’t overapply: A small dot is enough.
-
Avoid touching the paste: Oils from your skin can reduce effectiveness.
-
Use quality paste: Cheap paste dries out faster.
-
Replace every 1-2 years or sooner: Replace if temps rise.
Wrap Up
Learning how to replace thermal paste is one of the most effective ways to keep your PC cool, stable, and performing at its best. Whether you're gaming, streaming, or simply working on demanding tasks, this simple maintenance step can prevent overheating, extend your hardware’s lifespan, and save you from costly repairs down the line.
Want more tips on keeping your PC in top shape?
Explore more helpful guides on the Technoid Inc. Blog and get the most out of your gaming setup.
FAQs
How often should I replace thermal paste?
Ideally, replace thermal paste every 1-2 years or when you notice higher temperatures. If your PC is running hot, throttling, or shutting down unexpectedly, it might be time for a refresh.
Can I use too much thermal paste?
Yes! Applying too much paste can cause heat-trapping and leaks. A pea-sized drop (about the size of a grain of rice) in the center of the CPU is enough—the cooler’s pressure will spread it evenly.
What happens if I don’t replace the old thermal paste?
Old, dried-out paste loses its heat-transfer ability, leading to:
-
Higher CPU/GPU temperatures.
-
Loud fan noise from constant cooling.
-
Performance drops or sudden shutdowns.
-
Possible long-term damage to components.
Can I reuse thermal paste after removing the cooler?
No! Once the cooler is lifted, the paste gets uneven and may trap air bubbles. Always clean off the old paste and apply a fresh layer for the best cooling.
